
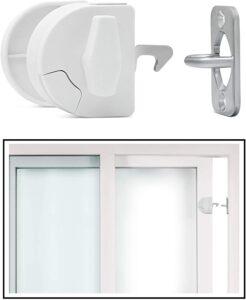
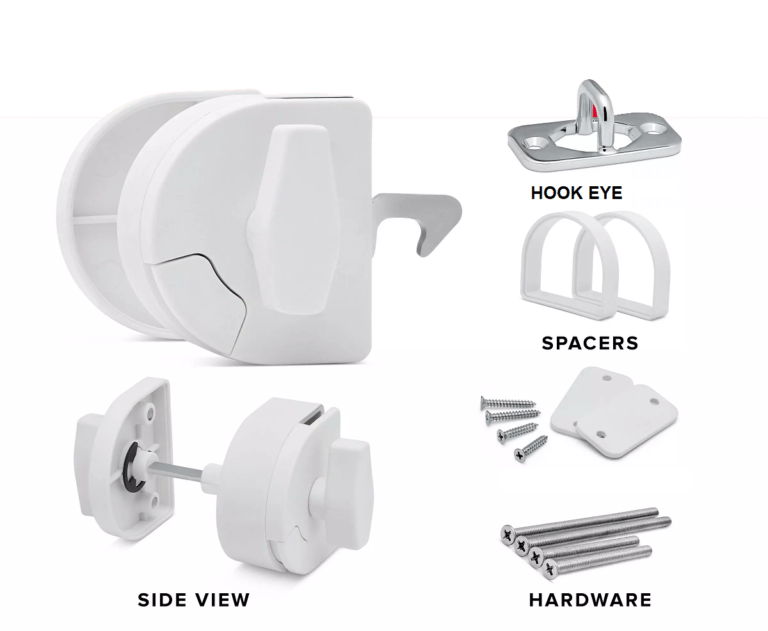
Sliding Door Latch for pool safe
The sliding door latch is a two-way sliding door latch. It is manufactured as a safety precaution to prevent small children from exiting the sliding patio door on their own without an adult’s control. It can be disabled when children are away **(You are responsible for such use). It is also intended for use as a preventative measure for people with autism, special needs, sleepwalkers, and adults with dementia.
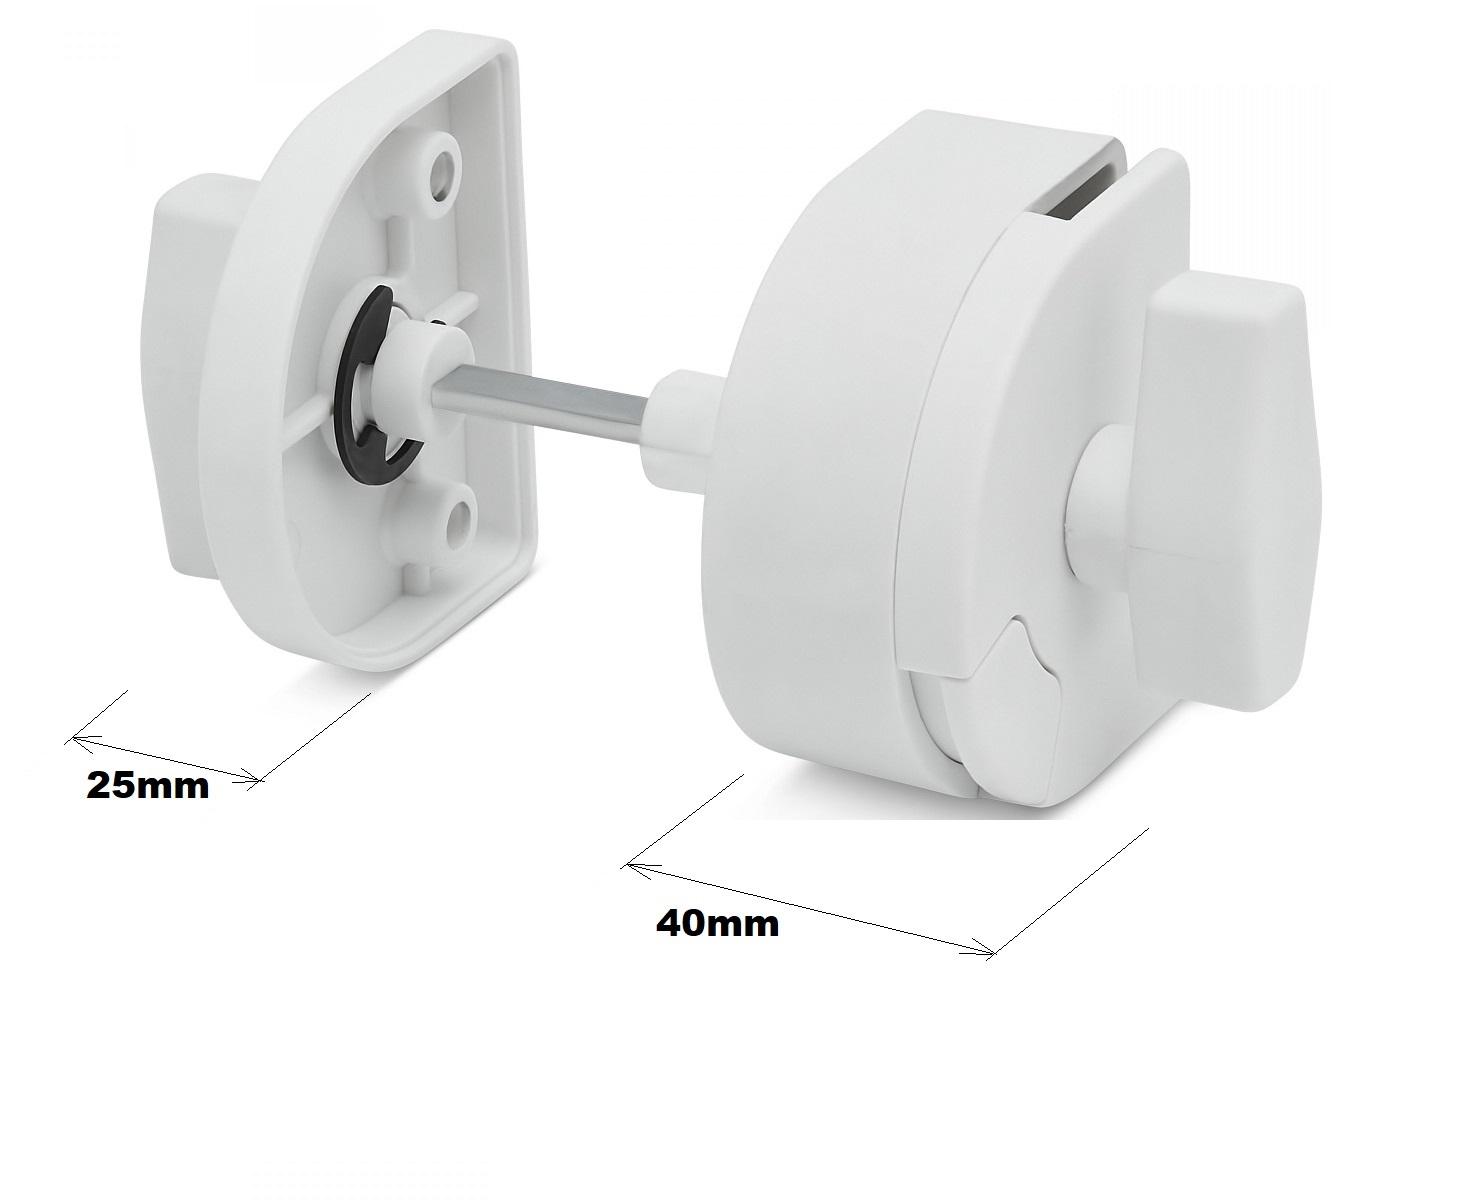
Our door latch is suitable for sliding doors, up to 60 mm thickness . It can be useful hardware for the pool safe. Depending on municipal regulations, it can be used safely on doors that will act as a safety barrier for your pool or spa, when installed in accordance with the standards.
- Gate or door must be self closing and self latching,
- The latch must be mounted more than 1.5 m above the ground,
- Gate or door must self latch shut on the first swing,
For ordering please click here To the related shopping page
Pool Safe & Latch
Most state regulations say something along the lines of;
- Gate or door must open outward from pool,
- Gate or door must be self closing and self latching,
- Direct access from the door of a house to the pool area is not allowed,
- The latch must be mounted more than 1.5 m above the ground,
- Gate or door must self latch shut on the first swing,
- If the doors will not have self closing and self latching features; the following rules apply.
- All swimming pools and spas on residential properties in Victoria with a depth greater than 30cm (300mm) are required to be surrounded by a safety barrier.
For ordering please click here To the related shopping page
Attention please.
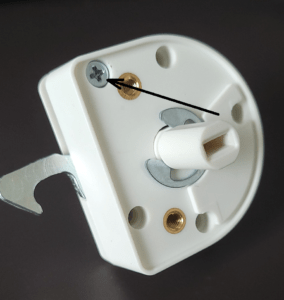
- When you open the package, you will find one small screw next to the long screws.
- Optionally, this screw should be carefully placed in the place marked with the arrow as in the side photo.
- The aim here is to make the latches more suitable to the desired standards if they are to be used for pool safety.
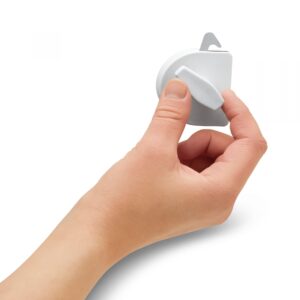
- The latch can be disabled when children are absent. When you turn it counterclockwise until you hear a click, the latch hook stays in that position and the latch is disabled.
- When this screw is inserted here, the ability to disable the latch when desired is eliminated.
- Please check a short video about details. Click here
LATCHback Installation Instructions:
Required tools: A Cordless Drill, 3/8” and 7/32” Drill Bits, and a Phillip Screw Driver
Please note: Once before drilling and screwing, check it several times then do the job. Remember, it’s your responsibility.
- Slide the door in the closing direction, all the way.
- Place the paper template (supplied) on the door at a minimum height of 150 cm from the ground.
- Drill the door with 3/8″ (9.5mm) drill bit for the middle hole. Use a 7/32″ (5.5mm) drill bit for the other holes. (Before drilling with a large drill bit, a centering hole is first drilled with a small diameter drill bit.)
- Extreme Caution– Make sure that the drill bits should not hit the glass behind.
- Connect the two handles using the long screws provided. Make sure the inner handle (with deactivation button) is installed inside.
There are two spacers provided to be used when there is a problem with the thickness of the door.
Two spacers are also provided for the hook eye adjustment.
- Slide the door in the closing direction; manually adjust the hook eye and the hook to fit the two pieces best. This process is vital for the efficient operation of the latch mechanism. Before screwing in, try a few times and decide on the position where the latch hook hooks easily and efficiently.
- In this state, mark the screw locations for the hook eye and mount it.
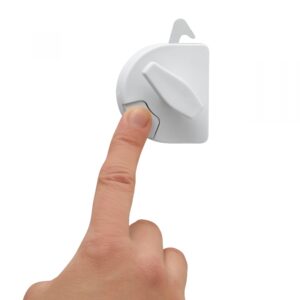
Note: The eye spacers are used when the latch is too far from the latch hook. - To disable LATCHback, turn the lever to the left (counter clockwise) until you hear a click. Press the button in the lower left corner to reactivate LATCHback sliding door latch.
Disclaimer: The above checklist does not substitute for a pool inspection and is for educational purposes only.